This post is a continuation of the Hackathon topic post, where the technical implementation of voice commands in .NET MAUI is revealed, as well as the challenges the development team faced and how they successfully solved them.
After discussing various ideas that were presented by each member of our team, we chose the idea of creating a voice assistant (hereinafter referred to as the assistant) that could record information about the amount of food and drinks eaten in a natural form.
In this blog article, I would like to share how the work of the development team was going and show what steps were taken to develop the business logic and visualization of the application.
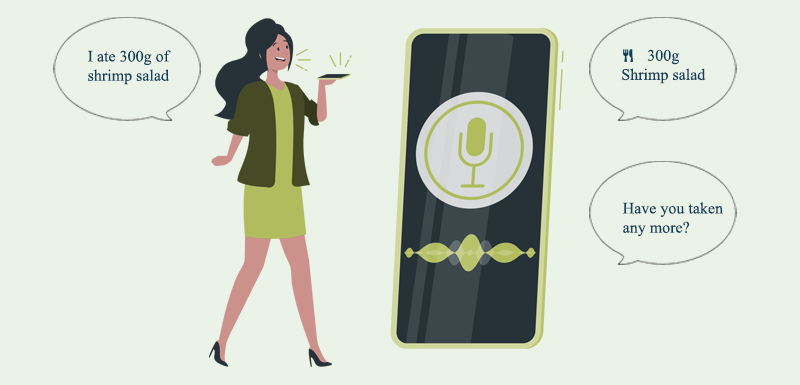
First of all, we needed to create a conceptual model to better understand how the program should work. In general, it should look like the following:
On the basis of this model a flowchart was created, which describes in detail the algorithm of the program operation:
As you can see from the flowchart, communication with the assistant can be divided into three stages:
The main difficulty in creating this kind of application is that we need to analyze the user's text and represent data model objects as a result. At the same time, we should not limit the user in how (in what format) he should list the meals. Everything should be in a conversation format that is natural to a user. The use of AI is ideal for this purpose. Let's see how the initialization of the GPT Chat, which we have chosen for this task, looks like:
public class MealParseService : IMealParseService | |
{ | |
private readonly IChatCompletion _chatCompletion; | |
public MealParseService() | |
{ | |
string aoaiEndpoint = "https://*****.openai.azure.com/"; | |
string aoaiApiKey = "********************************"; | |
string aoaiModel = "GPT4"; | |
// Initialize the kernel | |
IKernel kernel = Kernel.Builder | |
.WithAzureChatCompletionService(aoaiModel, aoaiEndpoint, aoaiApiKey) | |
.Build(); | |
_chatCompletion = kernel.GetService<IChatCompletion>(); | |
} | |
} |
The following data model structure was then created:
public class Meal | |
{ | |
[JsonPropertyName("error")] | |
public string Error { get; set; } | |
[JsonPropertyName("name")] | |
public string Name { get; set; } | |
[JsonPropertyName("ingredients")] | |
public List<Ingredient> Ingredients { get; set; } | |
} | |
public class Ingredient | |
{ | |
[JsonPropertyName("n")] | |
public string Name { get; set; } | |
[JsonPropertyName("a")] | |
public string Amount { get; set; } | |
[JsonPropertyName("m")] | |
public string Measurement { get; set; } | |
[JsonPropertyName("c")] | |
public string Category { get; set; } | |
[JsonPropertyName("p")] | |
public bool IsNatural { get; set; } | |
} | |
public class IsEndResponse | |
{ | |
[JsonPropertyName("hasMore")] | |
public bool HasMore { get; set; } | |
} |
The result of the communication with the assistant should be a meal array containing ingredients with name, amount, category and measurement.
Now came probably the most interesting stage, which required correctly configuring the GPT chat client. From the flowchart we can see that we have three methods:
For example, the body of the ParseMeal method looks as follows:
string assistantRequest = "?"; | |
public async Task<Meal> ParseMeal(string userText) | |
{ | |
var chat = _chatCompletion.CreateNewChat(assistantRequest); | |
chat.AddUserMessage(userText); | |
var answer = await _chatCompletion.GenerateMessageAsync(chat); | |
return JsonSerializer.Deserialize<Meal>(answer); | |
} |
The most interesting thing is the value of the assistantRequest
variable, which essentially configures the chat client. Let's see what the client configuration looks like for each method:
"You are a language assistant who can filter out from a sentence which foods have been eaten and in what quantities. | |
were eaten. From the information you create a JSON in the following form (everything in <> are placeholders). | |
Use common abbreviations for units of measurement. Where no amount is entered, omit the amount and measurement value. | |
Organize each ingredient into the following categories food, drink. | |
If you cannot find an ingredient, fill in the error field with your answer. | |
Classify each ingredient as to whether it is a natural product and put it in p as a bool: | |
{ | |
"error": <Error message>, | |
"ingredients": [ | |
{ | |
"n": "<ingredientname>", | |
"a": "<amount>", | |
"m": "<measure>", | |
"c": "<category>", | |
"p": "<naturalproduct>" | |
} | |
] | |
}" |
"The measurement units can be filtered out and this information returned in JSON with the following structure. | |
One of the two specifications is also sufficient: | |
{ | |
"a": "<amount>", | |
"m": "<measure>" | |
}" |
"You are a voice assistant and recognize from the message whether the answer contains more information | |
or is negating and return it in the following JSON form with hasMore = false if the answer is negating, | |
otherwise hasMore = true: | |
{ | |
hasMore: <value> | |
}" |
Thus, having created a request for the assistant, we clearly define the structure of the response in the JSON format, so that later, using deserialization, we can obtain the objects we need.
The next step that needed to be done was to convert the voice to plain text and back again. Luckily, .NET MAUI Community Toolkit is quite large and offers Speech To Text API. This allows converting spoken words into text, which can be used in a variety of ways for the IOS, Android, Mac, and Windows platforms. Here is a code snippet for using the service:
private async Task<string> StartListening(Action<string> progress, CancellationToken cancellationToken) | |
{ | |
IsSpeechOnLine = true; | |
InfoText = "Listening..."; | |
_timerService.StartTimer(3, SpeechCancel); | |
try | |
{ | |
var isAuthorized = await _speechToText.RequestPermissions(); | |
if (isAuthorized) | |
{ | |
return await _speechToText.Listen(CultureInfo.GetCultureInfo("de-de"), | |
new Progress<string>(s => | |
{ | |
_timerService.ResetTimer(); | |
progress(s); | |
}), cancellationToken); | |
} | |
else | |
return null; | |
} | |
catch (TaskCanceledException e) | |
{ | |
return RecognitionText; | |
} | |
catch (Exception e) | |
{ | |
if (e.Message == "No speech detected") | |
return null; | |
throw; | |
} | |
finally | |
{ | |
IsSpeechOnLine = false; | |
InfoText = "Ready"; | |
_timerService.StopTimer(); | |
} | |
} |
We also added a timer with a delay of 3 seconds, after which the voice is stopped. In case of successful recognition, the resulting string is processed by the Action<string> progress
delegate, where the result is written to RecognitionText
.
private void SpeechInputProgress(string s) | |
{ | |
if (DeviceInfo.Platform == DevicePlatform.Android) | |
{ | |
RecognitionText = s; | |
} | |
else | |
{ | |
RecognitionText += s + " "; | |
} | |
} |
Due to the specifics of speech recognition in Android, the final string is formed differently than on other platforms.
Reverse text-to-speech conversion can be implemented quite simple, like this:
_ = TextToSpeech.Default.SpeakAsync(message.Text, _speechOptions); |
where message is an object of the Viewmodel class:
public partial class MessageViewModel : ObservableObject | |
{ | |
[ObservableProperty] | |
string _text; | |
[ObservableProperty] | |
bool _isLoading; | |
[ObservableProperty] | |
MessageType _messageType; | |
[ObservableProperty] | |
MealType _mealType; | |
} | |
public enum MessageType | |
{ | |
OutGoingMessage, | |
SystemMessage, | |
ResultMessage | |
} | |
public enum MealType | |
{ | |
Food, | |
Drink | |
} |
and _speechOptions can be configured as follows:
var locales = await TextToSpeech.Default.GetLocalesAsync(); | |
_speechOptions = new SpeechOptions | |
{ | |
Pitch = 1.5f, | |
Volume = 1f, | |
Locale = locales.Where(l => l.Language.Contains("de")).FirstOrDefault() | |
}; |
Communication with the assistant should look as natural as possible for the user, so it was decided to organize a dialog with the assistant as it would be with an ordinary user.
For this purpose, three types of messages were created in the SystemMessageTemplate
, OutgoingMessageTemplate
, ResultMessageTemplate
and MessageDataTemplateSelector
, which would be able to substitute the necessary message template into the CollectionView
depending on the type of message. The templates in turn depend on the values of the MessageType and MealType properties of the MessageViewModel object.
Example OutgoingMessageTemplate:
<DataTemplate x:Key="OutgoingMessageTemplate" | |
x:DataType="viewModels:MessageViewModel"> | |
<Grid ColumnDefinitions="*,*"> | |
<Frame | |
Grid.Column="1" | |
BackgroundColor="#F6FFD7" | |
Margin="10" | |
HasShadow="False" | |
CornerRadius="10"> | |
<Label Text="{Binding Text}" | |
TextColor="#29332E"/> | |
</Frame> | |
</Grid> | |
</DataTemplate> |
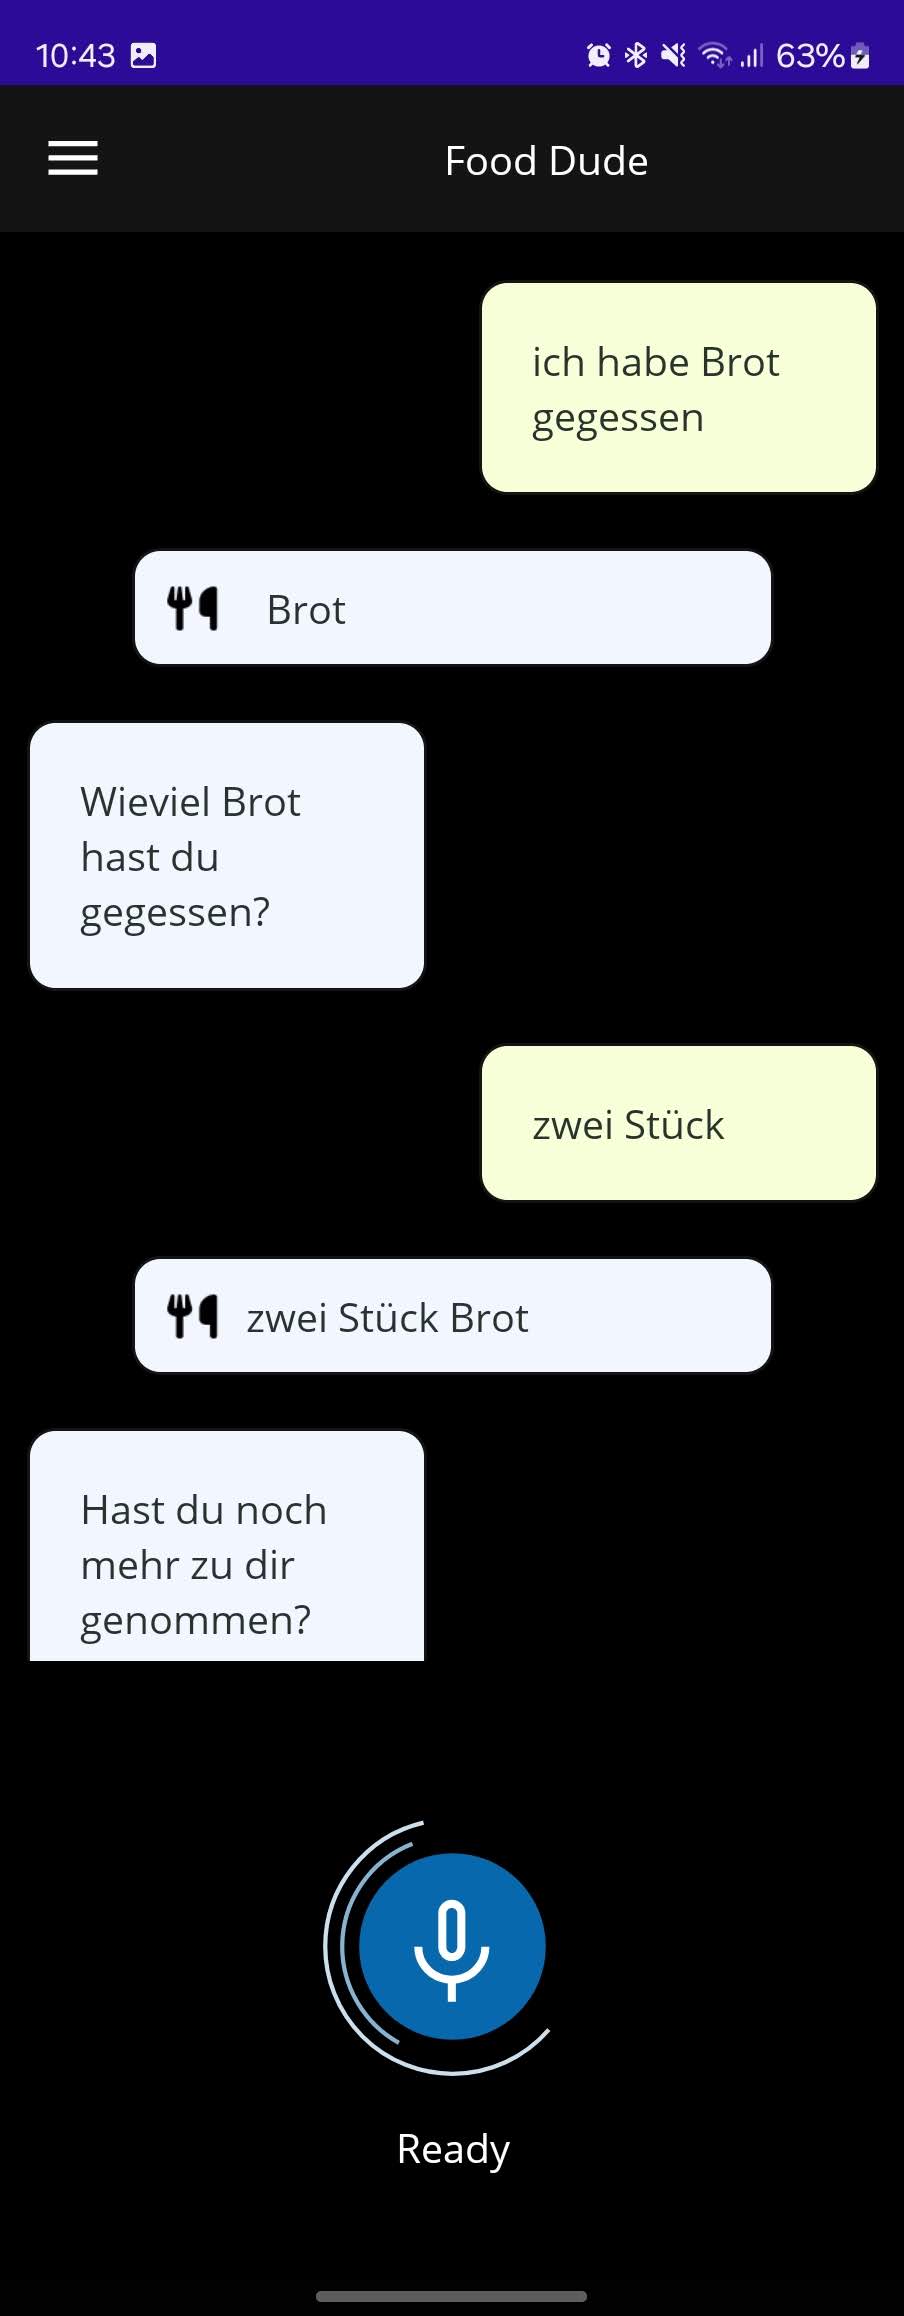
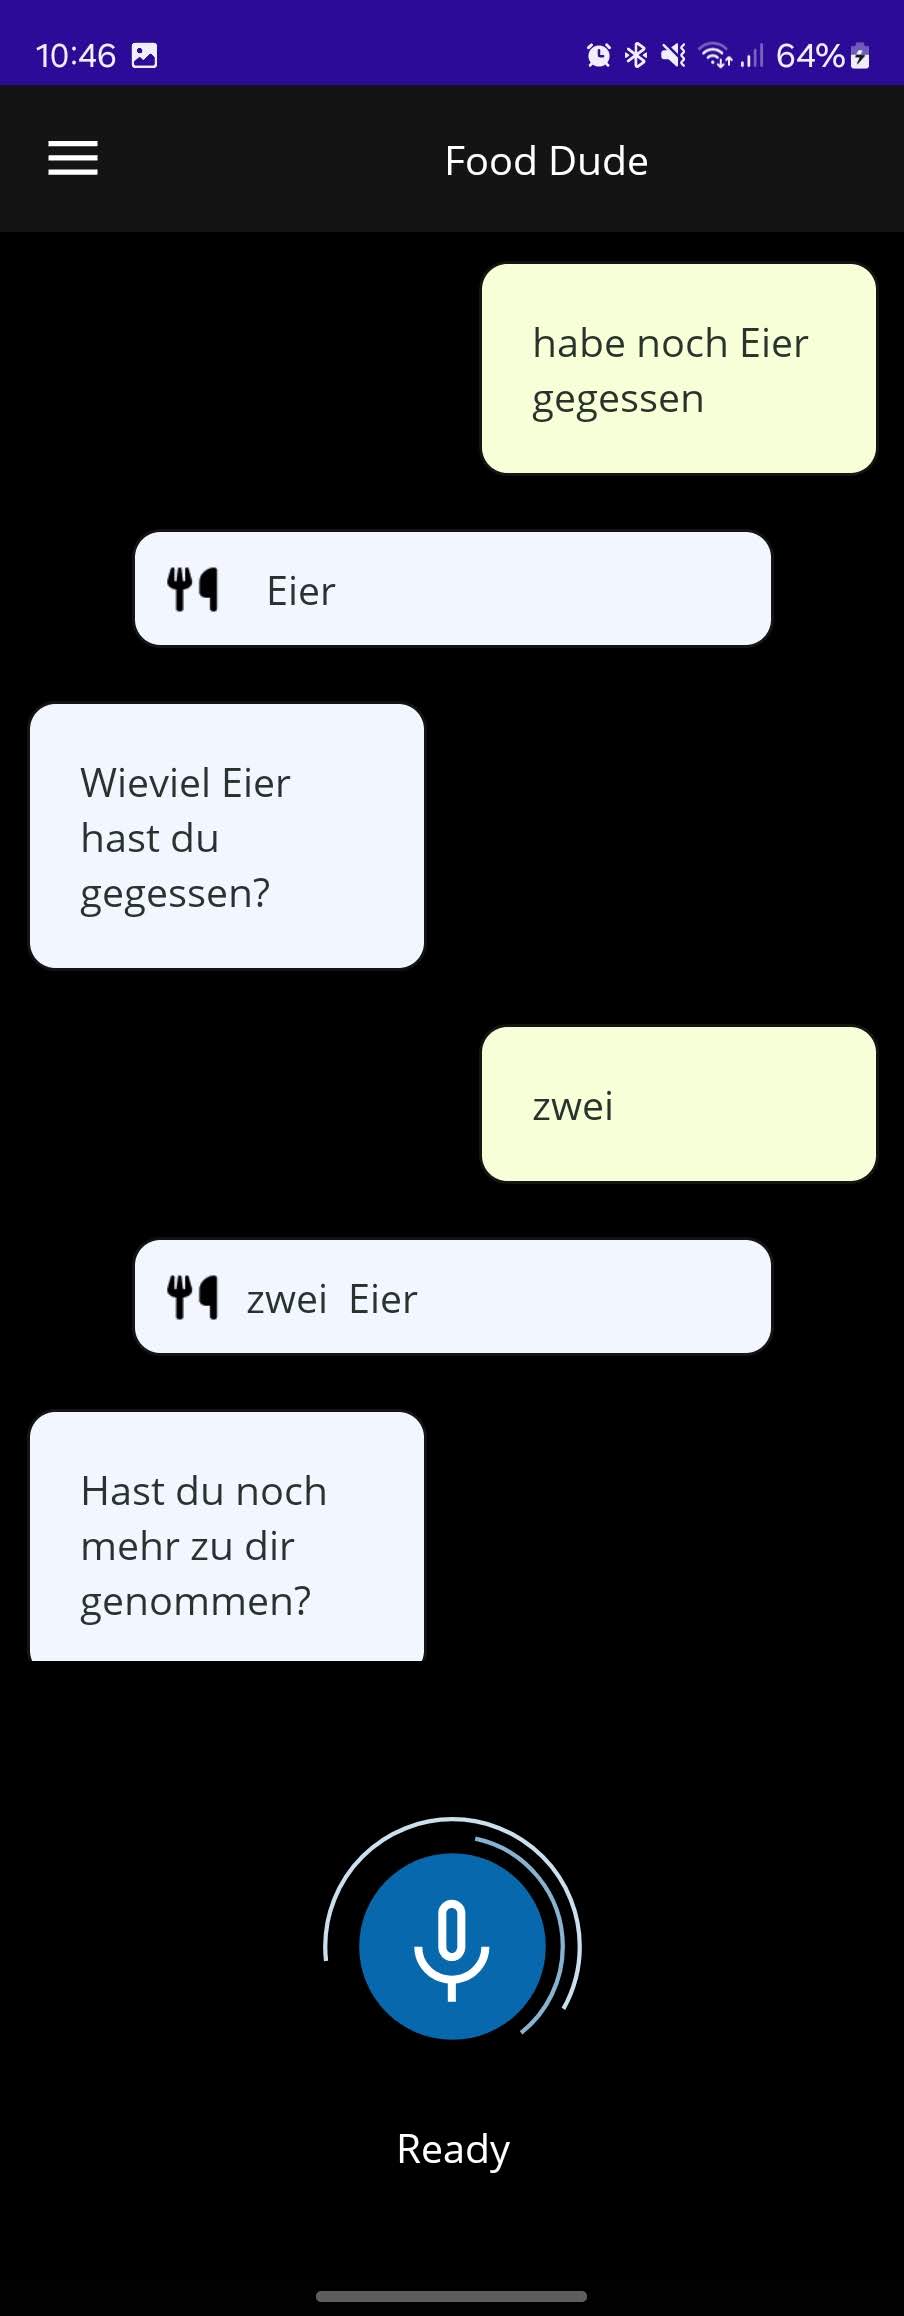
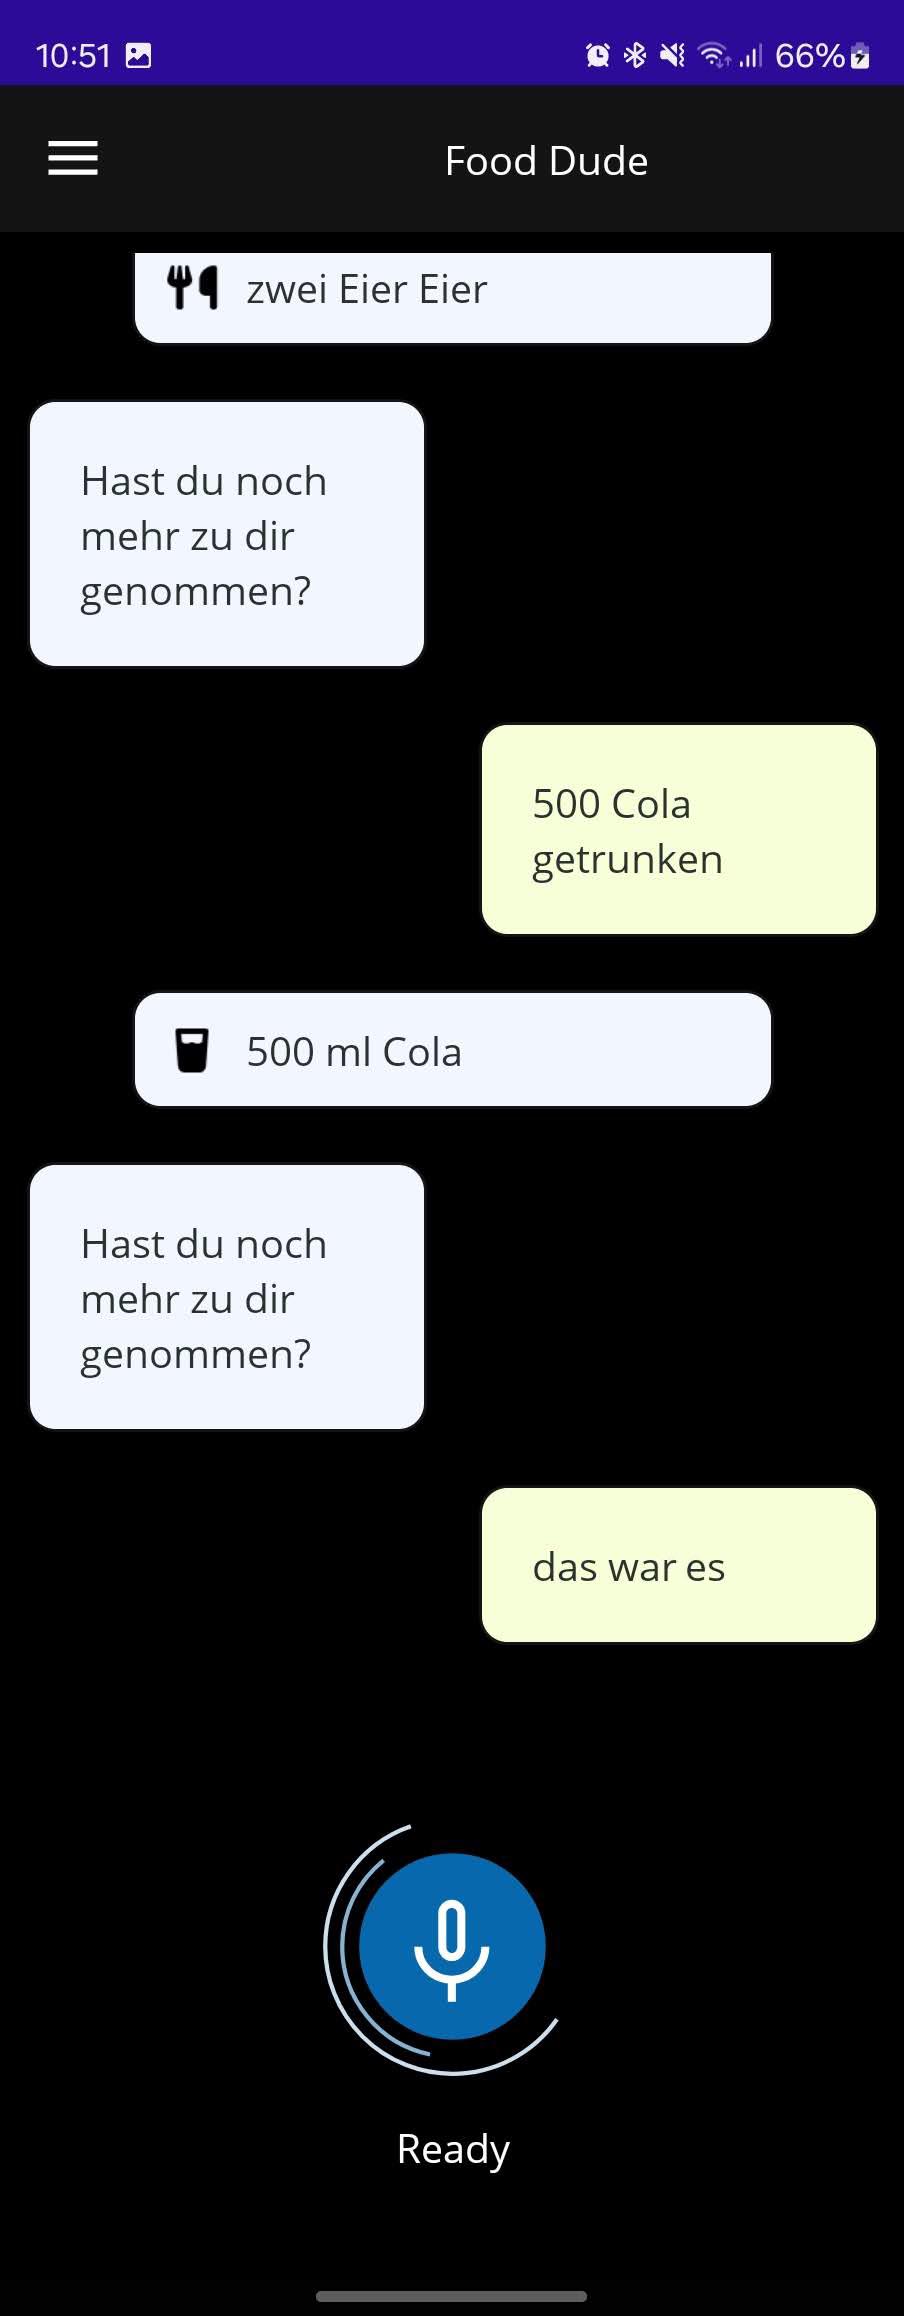
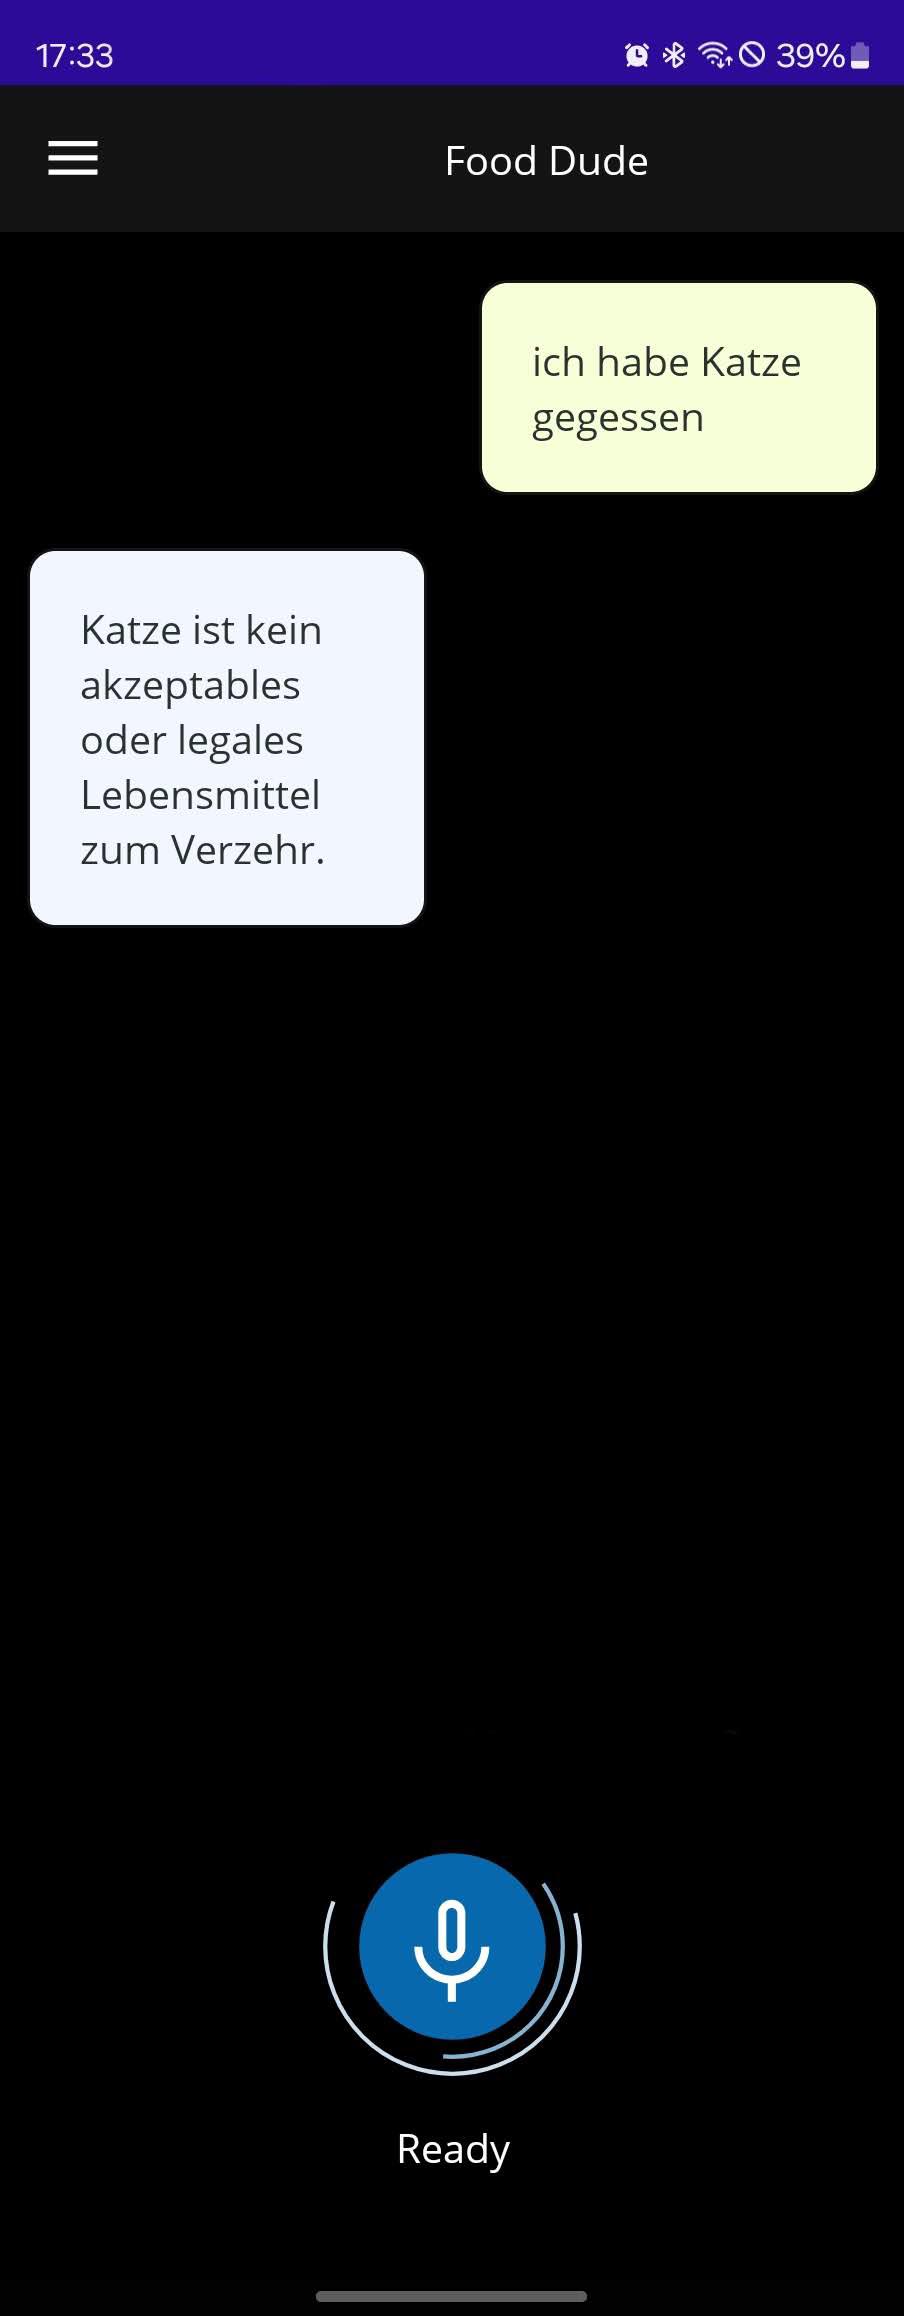
Let's look at the result:
It was a real challenge for the development team to step out of their comfort zone, try and learn something new, design the application architecture and create a working instance in just three days. As a result, we gained experience in integrating artificial intelligence into applications, as well as operational work in a strong and friendly team.
Mit über 15 Jahren Erfahrung in der Softwareentwicklung mit Java und Kotlin unterstütze ich im Banken- und Logistik-Bereich unsere Kunden bei spannenden nativen Android-Projekten. Hier schreibe ich über alle neuen Technologien und Trends, die im Bereich der Android-Anwendungsentwicklung auftauchen.
Ich arbeite derzeit an der Portierung einer Xamarin Forms App zu .NET MAUI. Die App verwendet auch Karten von Apple oder Google Maps, um Standorte anzuzeigen. Obwohl es bis zur Veröffentlichung von .NET 7 keine offizielle Unterstützung in MAUI gab, möchte ich Ihnen eine Möglichkeit zeigen, Karten über einen benutzerdefinierten Handler anzuzeigen.
.NET MAUI ermöglicht es uns, plattform- und geräteunabhängige Anwendungen zu schreiben, was eine dynamische Anpassung an die Bildschirmgröße und -form des Benutzers erforderlich macht. In diesem Blog-Beitrag erfahren Sie, wie Sie Ihre XAML-Layouts an unterschiedliche Geräteausrichtungen anpassen können. Dabei verwenden Sie eine ähnliche Syntax wie OnIdiom und OnPlatform, die Ihnen vielleicht schon bekannt ist.
As mobile app developer, we constantly have the need to exchange information between the app and the backend. In most cases, a RESTful-API is the solution. But what if a constant flow of data exchange in both directions is required? In this post we will take a look at MQTT and how to create your own simple chat app in .NET MAUI.